
When it comes to sewing and garment construction, seams—known as Nahttypen in German—play a critical role. Seams are not only the hidden heroes holding fabric together; their type and execution determine the strength, durability, and aesthetic of the final product. Whether you’re an experienced seamstress or just starting with a needle and thread, understanding the different Nahttypen can greatly elevate your sewing skills.
This article will guide you through the various types of seams, their specific uses, and some handy tips to sew them like a pro. We’ll go beyond just sewing basics and ensure you leave here with a solid understanding of how to finish your projects with precision and style.
What Are Nahttypen?
Nahttypen are simply different types of seams used in sewing to join two or more pieces of fabric. Each type has its unique purpose and application—some are designed for durability, others for aesthetics, and some even for functionality such as stretch or flexibility. Choosing the correct seam type is essential, as it ensures that your final project is strong, neat, and well-suited to its intended use.
Not all seams are created equal. From basic seams you’ll find in everyday garments to intricate ones used in high-fashion couture, there’s always a seam that fits the bill for your project.
Why Understanding Nahttypen Matters
Imagine sewing a beautiful dress, only to have the seams rip apart during the first wear because the stitch wasn’t strong enough. Or making a quilt where the edges fray because the seams were poorly finished. Knowing and applying the correct seam type prevents issues like these while giving your projects a professional finish.
Additionally, understanding Nahttypen reduces waste. Properly done seams mean fewer mistakes, less fabric waste, and more satisfaction from your handiwork. For those aiming to monetize their sewing projects, strong and clean seams can be a hallmark of high-quality craftsmanship.
Let’s explore some of the most common Nahttypen, along with their purposes and instructions for sewing them.
1. Plain Seams (Normale Naht)
What Is It?
A plain seam is the simplest and most widely used type of seam. It is created by placing two pieces of fabric with their right sides facing each other and stitching them together along the edge.
Where Is It Used?
- Everyday clothing
- Home decor projects
- Basic crafts
Key Features
- Quick and simple to sew
- Suitable for lightweight and medium-weight fabrics
- Often used with additional seam finishes to prevent fraying
How to Sew It
- Put the fabric pieces together with the right sides facing in.
- Line up the edges and pin them in place.
- Sew along the edge by machine or hand.
- Press the seam open to keep it clean and flat.
2. French Seams (Französische Naht)
What Is It?
A French seam neatly encases the raw edges of the fabric, making it an ideal choice for lightweight or sheer materials. It provides a clean, refined finish that enhances the overall look of the garment.
Where Is It Used?
- Delicate garments like lingerie
- Sheer fabrics (chiffon, voile)
- High-end blouses
Key Features
- Strong and durable
- Requires precise sewing techniques
- No raw edges visible
How to Sew It
- With the fabric pieces wrong sides together, sew a narrow seam along the edge.
- Trim the seam allowance close to the stitching.
- Fold the fabric so the right sides face each other. Pin in place.
- Stitch another seam, enclosing the raw edges within.
- Press the seam flat.
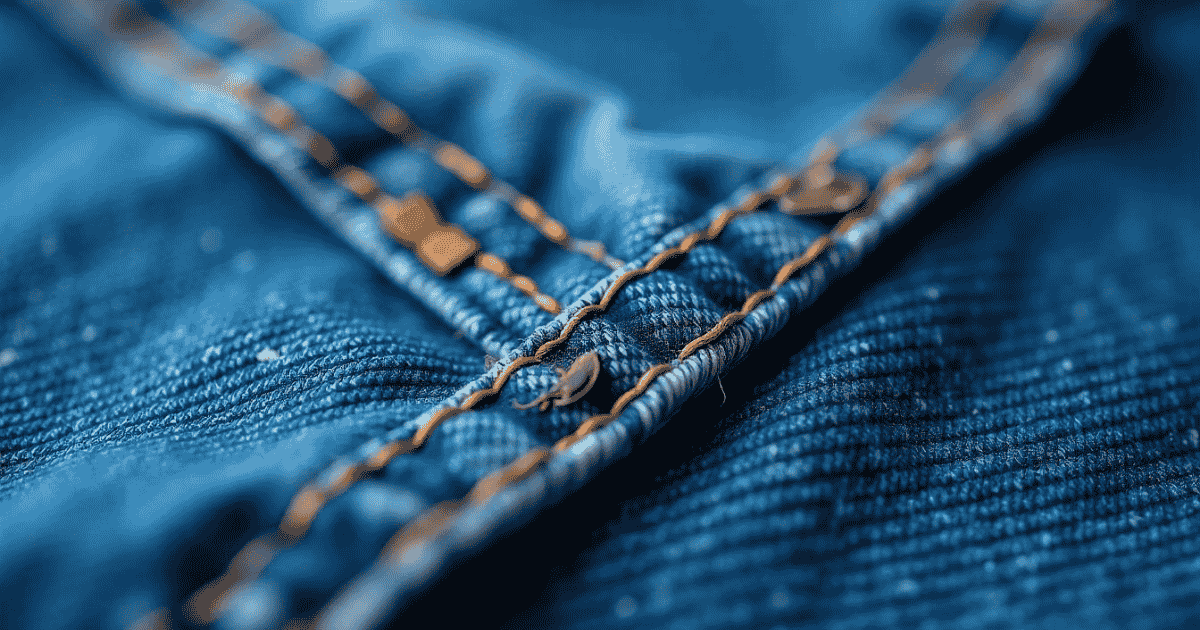
3. Flat-Felled Seams (Kappnaht)
What Is It?
The flat-felled seam is strong and neat, often used in denim and heavy-duty gear like workwear. It lies flat to minimize bulk and adds extra durability.
Where Is It Used?
- Jeans
- Outerwear like jackets
- Sportswear
Key Features
- Extremely strong and long-lasting
- Prevents fraying without additional finishing
- Decorative appearance
How to Sew It
- Place the fabric pieces right sides together and sew a straight seam.
- Trim one seam allowance shorter than the other.
- Fold the longer edge over the trimmed one.
- Topstitch close to the fold to hold it in place.
4. Zigzag Seam (Zickzacknaht)
What Is It?
A zigzag seam is not technically a seam used for joining fabric but rather for finishing edges. It prevents raw edges from fraying and adds flexibility to certain seams.
Where Is It Used?
- Knits
- High-stress areas (e.g., athletic clothing)
- Edging seams on woven fabrics
Key Features
- Adjustable width for various fabrics
- Simple finish for frayed edges
- Easy to do on most sewing machines
How to Sew It
- Set your sewing machine to a zigzag stitch.
- Position the raw fabric edge under the presser foot.
- Sew along the edge, ensuring the zigzag pattern encases the fabric edge evenly.
5. Overlocked Seams (Overlocknaht)
What Is It?
Overlocked seams, often created with a serger, simultaneously trim and finish the fabric edges while stitching them together.
Where Is It Used?
- Professional garment production
- Stretch fabrics
- High-volume projects requiring fast work
Key Features
- Combines sewing and finishing in one step
- Creates strong, clean edges
- Ideal for stretchy fabrics
How to Sew It
- Use an overlock or serger machine.
- Feed fabric into the machine, aligning it with the edge guide.
- Adjust width and stitch density as needed.
6. Bias-Bound Seams (Schrägbandnaht)
What Is It?
A bias-bound seam uses bias tape to finish raw edges, encasing them for a polished look. It’s both protective and decorative.
Where Is It Used?
- Unlined jackets and blazers
- Quilts
- Decorative garment seams
Key Features
- Smooth, finished edges
- Adds a pop of contrasting
- Easy for beginners
How to Sew It
- Sew your regular seam.
- Place bias tape over the raw edges
- Pin the bias tape in place, aligning it over the raw edges.
- Stitch the bias tape down close to its edges, ensuring both sides are securely attached.
- Trim any excess bias tape for a clean finish.
This technique not only adds durability to your seams but also gives your project a professional and refined appearance. With a variety of colors and patterns available for bias tape, you can customize your garments or crafts to reflect your personal style.
Conclusion
This versatile finishing technique not only ensures long-lasting durability but also allows for endless creative possibilities. Whether you’re adding a pop of color or achieving a polished edge, bias tape is a valuable tool for sewers of all experience levels. With practice and attention to detail, your finished pieces will exude professionalism and personal flair.